Plugins
Plugins serve as bundles of code designed to modularize functionality, fostering the creation of reusable code components. They expand upon the core capabilities of the main application.
SaleFlow incorporates a native feature for plugin creation, enabling seamless integration of additional functionalities alongside its core features.
As a plugin developer for SaleFlow:
- It is your responsibility to maintain and update the plugins you develop, ensuring compatibility with the latest SaleFlow version and guaranteeing their security.
- If you opt to develop and sell plugins on CodeCanyon, you have the freedom to do so. However, it's important to note that due to our exclusivity agreement, plugins can only be sold exclusively on CodeCanyon. When publishing a plugin through your Envato account, you retain full ownership of the plugin and its code, without associating SaleFlow as a partner.
Build
After following the Laragine plugins docs, you should have a good understanding of how to create a plugin, what we also need is another file called `Setup.php` in the root directory of the module. this file should contain some static properties and methods that will be used by the plugin manager to install, uninstall, and update the plugin. please refer to the the following example: Setup.php. For more plugins examples, please refer to this GitHub repository
Install
Once you have created your plugin, you can install it by following these steps:
1. Make an archive of your plugin folder. The archive should be in .zip format.

2. Upload the archive to the plugins directory of the SaleFlow code existing on your server and extract it there.

3. Go to the admin panel and navigate to the Plugins in the settings section. You should see your plugin listed there. Click on
the install button to install the plugin.

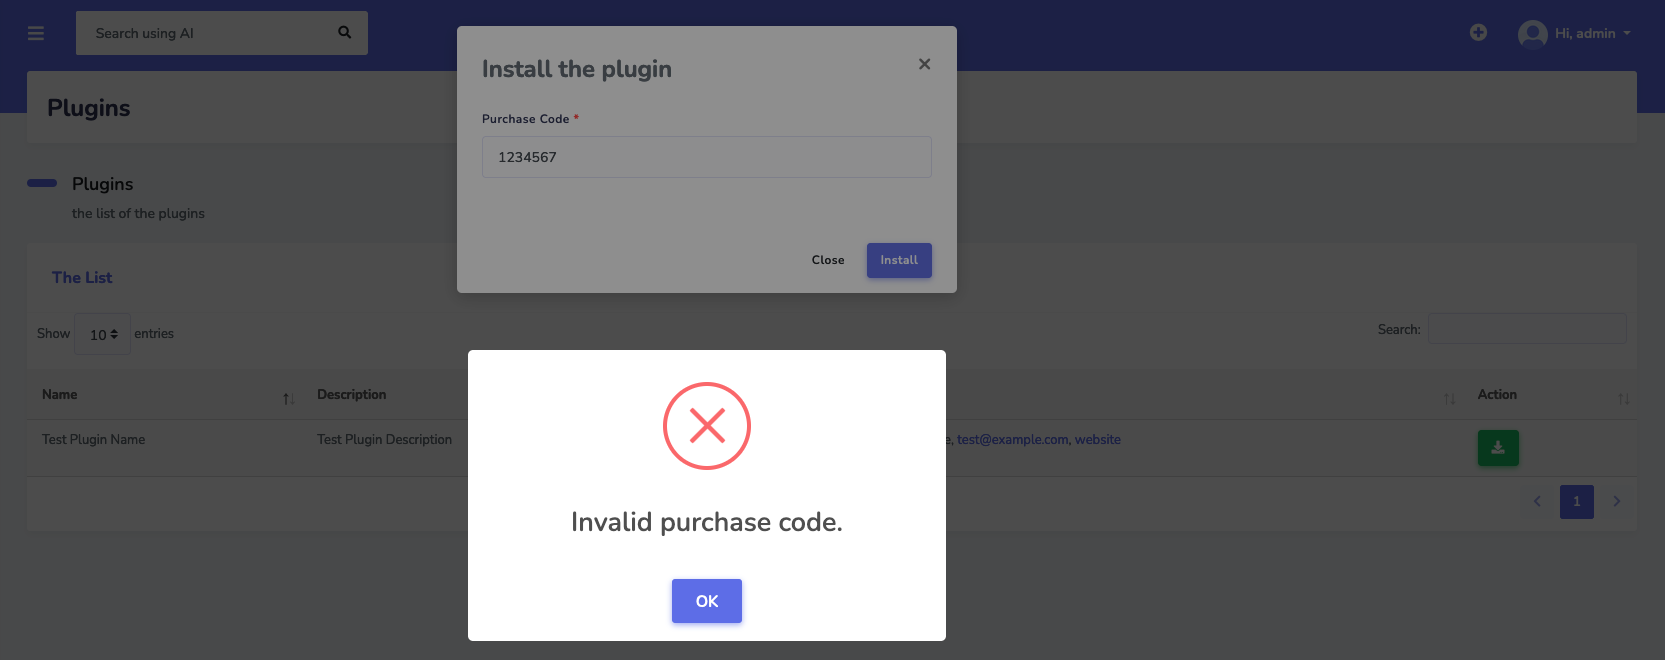
4. Enter the purchase code and then you will see the plugin installed!
 if the purchase code is wrong, or there is a problem in the installation, you will see an error message as shown below:

Uninstall
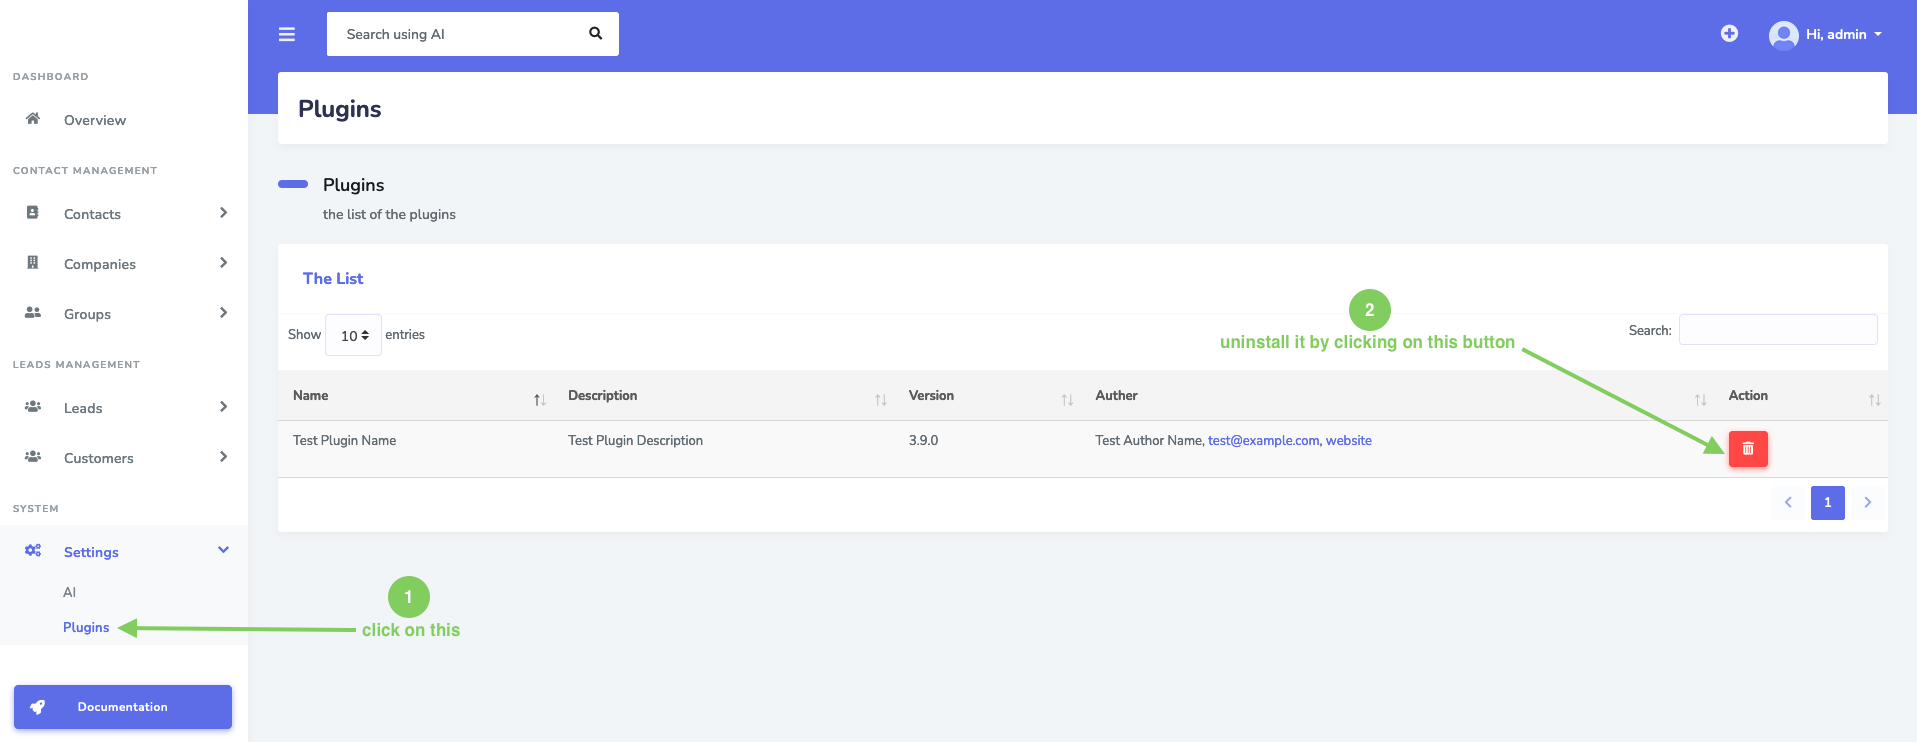
You can uninstall a plugin after installing it, you can uninstall it by following these steps:
1. Go to the admin panel and navigate to the Plugins in the settings section. You should see your plugins listed there. Click on
the uninstall button to uninstall the plugin.

2. Confirm the uninstallation by clicking on the confirm button.
